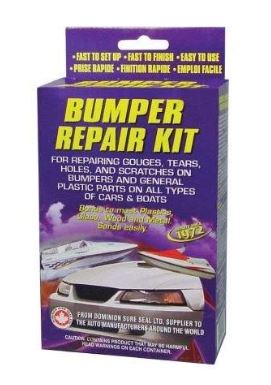
 After doing all the work on the exterior of the truck, that cracked dash
was getting on my nerves. I did some research and discovered that the
material that most car bumpers are made of, is basically the same as the
material used to cover these dashes. Except the dashes are covered with
a much thinner material and have foam padding under it. After doing all the work on the exterior of the truck, that cracked dash
was getting on my nerves. I did some research and discovered that the
material that most car bumpers are made of, is basically the same as the
material used to cover these dashes. Except the dashes are covered with
a much thinner material and have foam padding under it.Anyway... I've
repaired car bumpers before using a kit that comes with a two part
epoxy, that looks like body filler but is designed to adhere to plastic,
and remain somewhat flexible under varying temperatures.
So here was my process. |
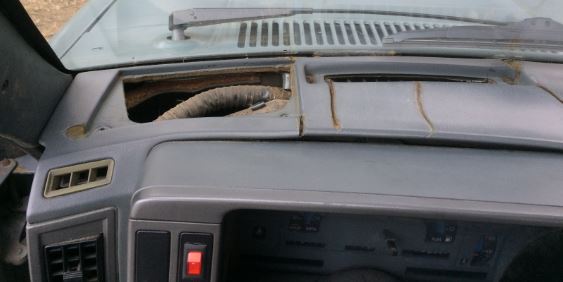 You
need to grind off the puckered (upturned) plastic on the edges of the
crack. It is OK to grind out a bit of the foam as well. There is plenty
of epoxy in the bumper repair kit. Also grind off any spider webbed
areas . You
need to grind off the puckered (upturned) plastic on the edges of the
crack. It is OK to grind out a bit of the foam as well. There is plenty
of epoxy in the bumper repair kit. Also grind off any spider webbed
areas . |
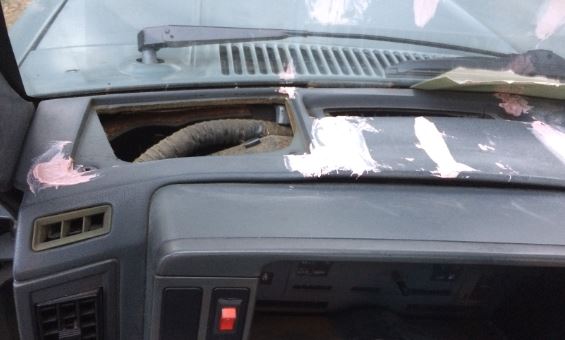 Clean
the dash with soap and water, and let it dry completely. I took an extra
step of wiping the dash down with rubbing alcohol in case there was
wax or something that the soap and water couldn't remove. Clean
the dash with soap and water, and let it dry completely. I took an extra
step of wiping the dash down with rubbing alcohol in case there was
wax or something that the soap and water couldn't remove.
Now mix equal parts of the epoxy together, and work it into the cracks.
Try to keep this first application level with the dash so you won't have
to sand too much to smooth it out.
This next part is very important. You need to reinforce the patch with
the fiberglass mesh that comes with the repair kit. If you don't, the
cracks will come back very quickly. I tested this theory on the first
crack, and two days later the dash cracked again right at the repair.
So now that we have the main cracks filled and sanded more or less
flush, we will apply the fiberglass mesh over our repairs, and apply
another layer of the epoxy over the mesh, and this time spread it a bit
further away from the crack giving you more room to feather the edges,
and not expose the fiberglass mesh. |
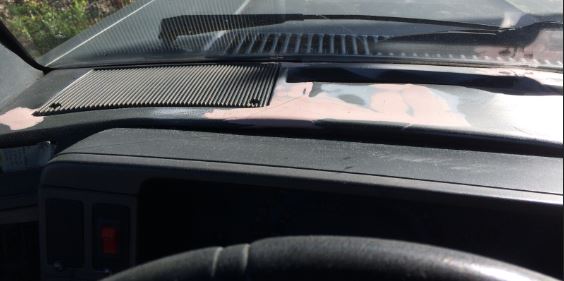 I
sanded and feathered the epoxy with medium grit sandpaper first, and then
down to a fine to do the final smoothing and feathering. I
sanded and feathered the epoxy with medium grit sandpaper first, and then
down to a fine to do the final smoothing and feathering. |
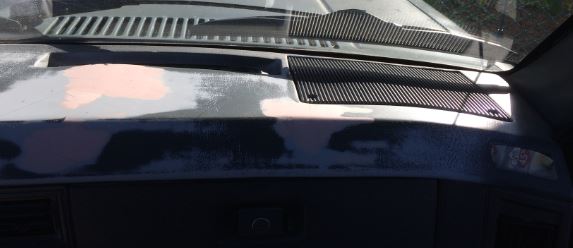 I
wanted to make sure that my edges weren't too noticeable, so I gave my
repairs a light coat of sandable primer I
wanted to make sure that my edges weren't too noticeable, so I gave my
repairs a light coat of sandable primer |
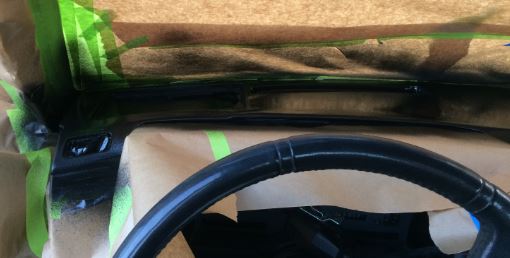 Mask
off everything you don't want sprayed. I removed all vents, speaker
grills and dash panels, and filled all the holes with newspaper Car Wraps. Mask
off everything you don't want sprayed. I removed all vents, speaker
grills and dash panels, and filled all the holes with newspaper Car Wraps. |
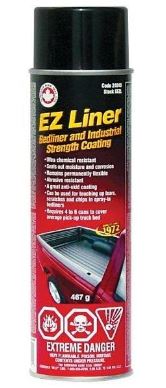 Next
spray the entire area with bed liner. It is rugged, durable, and will
give a close approximation to the original texture of the dash. Next
spray the entire area with bed liner. It is rugged, durable, and will
give a close approximation to the original texture of the dash. |
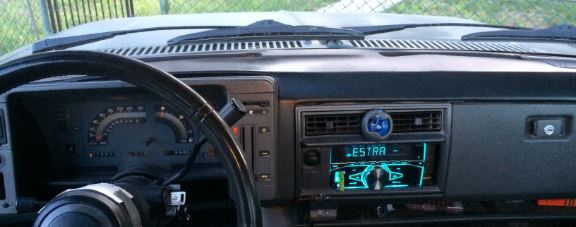 |
| Here is the completed dash. It's not perfect because the original
dash did have some warping. The only way to have made it perfect would
have been to replace the entire dash, which wasn't something I wanted to
mess with. |