|
Aluminum Polishing |
|
This is one of the most time consuming parts
of fixing up your bike. Again... I'm no mechanic or detailing
person. I just like working on my bikes and trying to keep them
looking nice. So if any of these tips don't work for you... I'm
sorry. But they worked for me, and many of my friends could not
beleive the results. See for yourself below. My bike looked pretty
neglected when I got it, and the fellow I purchased it from said
it had been sitting in a garage for about 6 years without being
ridden. Also it came from Vancouver Island so the salt air and
wet weather also contributed to the finish pealing off and the
aluminum staining so bad. |
|
|
|
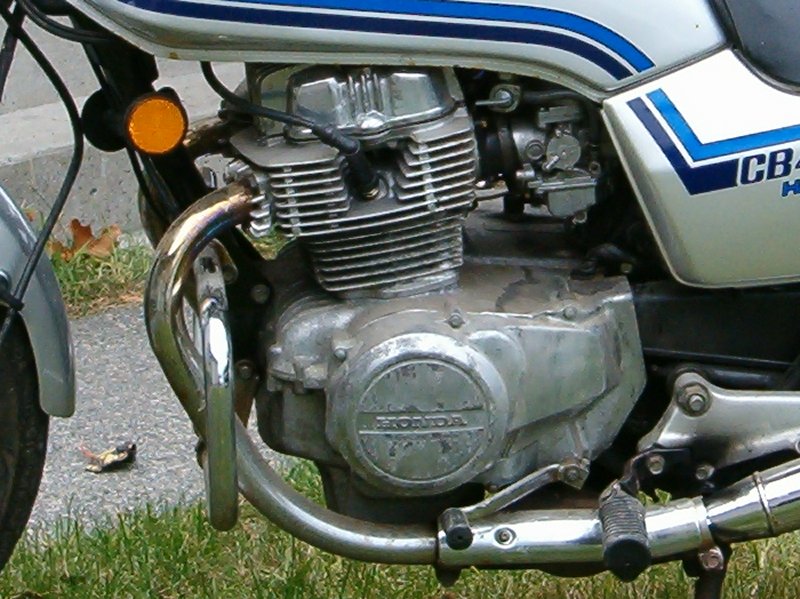
Left Side Before |
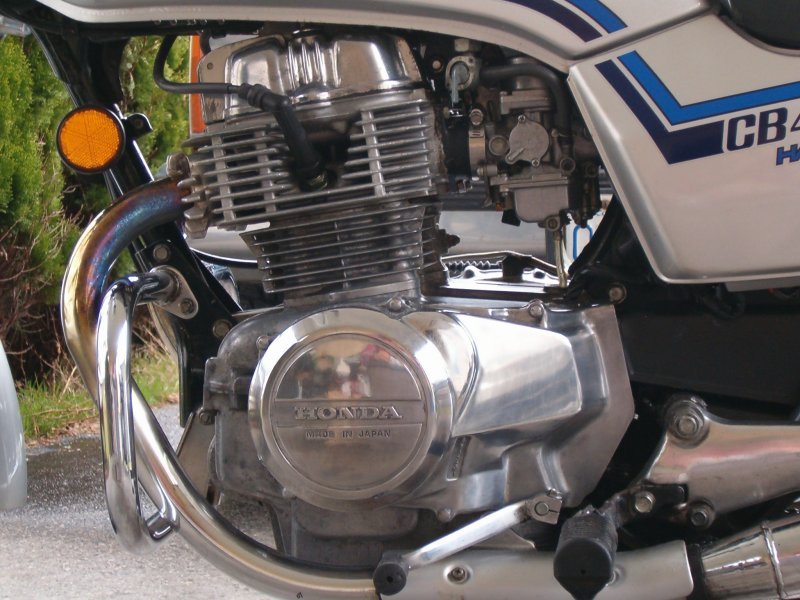
Left Side After |
 |
 |
|
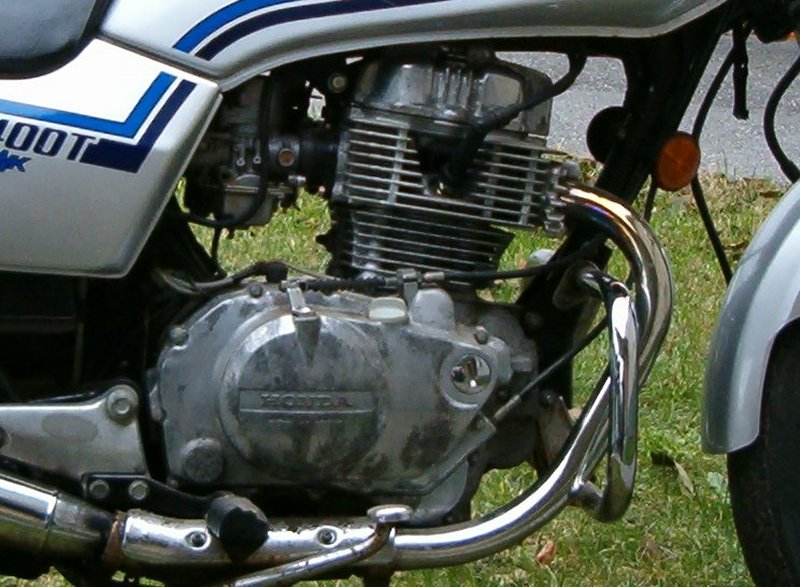
Right Side Before |
Right Side After |
|
Step 1. |
|
You need to get rid of the original clearcoat finish that
the manufacturer put over the aluminum. I found the easiest way
was to use Automotive Paint Stripper. The type I used came in
a spray can like most automotive paints come in. For best results,
you realy should remove the aluminum part from the motor before
stripping it, however, if you are extremely carefull and mask
everything off, It can be done while the part is still attached
to the bike. Just make sure that you have a bucket of warm soapy
water handy for wiping off the old finish after it blisters up.
Wash the parts really well before continuing on. |
|
Step 2. |
|
Here is where all the hard work and elbow grease comes
in. Now that you have exposed the aluminum, you want to inspect
it for any scratches. If the scrach is really bad you will either
have to live with it, or get another part in better shape. If
it has any light to moderate scraches, most can be sanded off
using a good wet/dry sandpaper. I used 1500 grit and 2000 grit
sandpaper, and used a small spray bottle filled with water and
a few drops of dish soap to keep the surface and the paper wet.
If you need anything more abrasive than that, try an SOS pad,
but only use while it is good and soapy. If the soap is almost
gone, get another pad before continuing on. Once you have eliminated
the scratches, use the 1500 grit sandpaper as mentioned above,
and then the 2000 grit, and keep the sandpaper wet. Don't be
disappointed if the finish still looks cloudy. At this point
it is still supposed to look that way. This step is only supposed
to remove the scratches and staining, and prepare the surface
for polishing. |
|
Step 3. |
|
Now you are going to need a good aluminum cut polish. I
recommend Mothers Aluminum Polish. I have used it for a long
time, and have had pretty good results with it. Follow the instructions
on the container, and don't rush it. Keep at it untill the aluminum
starts to shine. |
|
Step 4. |
|
Now if you want to get a real shine on the aluminum (dare
I say... Miror Finish), you want to get a buffing pad and a variable
speed electric drill. If you have the money, a buffing tool is
nice, but I live on a budget, so I used my trusty drill. If you
don't have a buffing pad, you can pick one up at your local hardare
store. For the smaller harder to reach places you will probably
still have to polish by hand, or a variable speed Dremmel tool
is also a nice tool to have. Also, don't be afraid to use a toothbrush
or similar item to get at some dificult places. Anyway... back
to the buffing pad. Apply the Mothers polish onto the aluminum
part, and work it arround untill it turns black (as the instructions
on the can state), then using the buffing pad on the drill, start
buffing the part untill most of the Mothers polish is gone. Then
use a soft cotton cloth to buff off the rest of the polish. Repeat
these steps as often as you need to to get the entire part nice
and shiny. |
|
Step 5. |
|
Some people like to re-apply a clear coat to the finished
product, but I have had bad luck with that. Most of the clear
coats I have tryed didn't stand up well to gas spills and such,
so I have left the aluminum au natural, and occasionally touch
it up. If anyone is aware of a clear coat product out there that
does in fact resist stains from gas and oil, please let me know. |