
 |
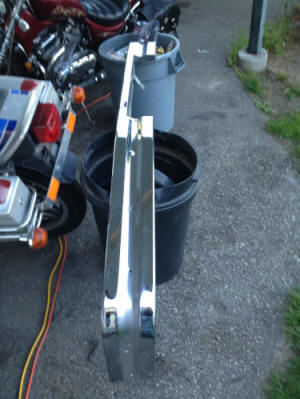
| One of the first things I did was remove
the rear bumper, and clean it up. The original plastic trim was damaged
too badly to save. it was all broken and had large pieces missing from
it. Next I had to cut and grind off what was left of the old bumper
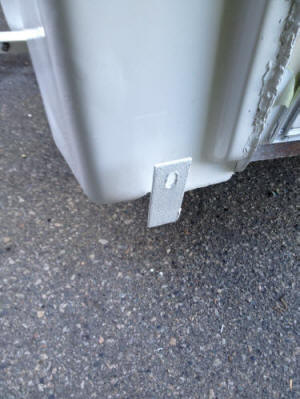
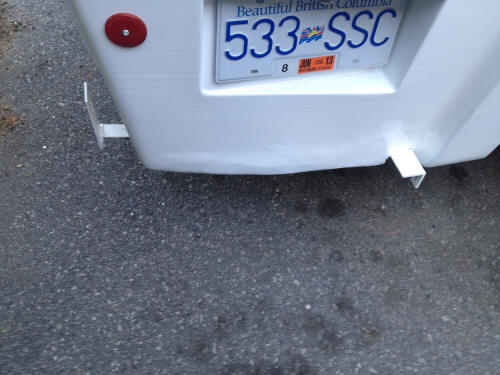
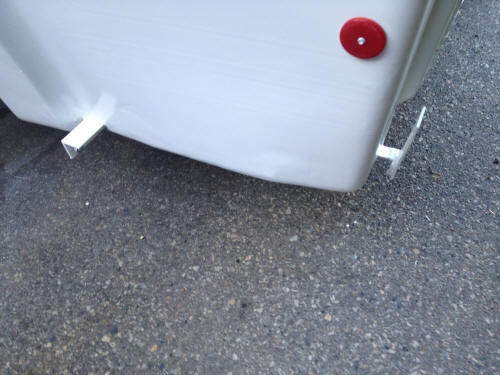
mounts, make new ones, and weld
the new ones to the undercarriage. |
 |
 |
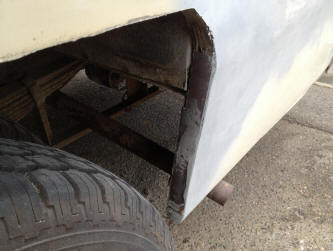
| Next came the fibreglass work. The entire
underside of the rear cap was gone. So first I removed all the spray
foam and old clothing that the previous owner had shoved into the holes.
Then
I cleaned out all the dirt and lightly sanded the remaining fiberglass just
to rough it up. I made a mould out of cardboard and wax paper to try and
form the original shape, or as close as I could come to the original
shape. I then put a small amount of spray foam into the bottoms of the
end cap, so that when it hardened, I would have a base that I could
shape and apply fiberglass matting and resin to. Not an easy job to do
lying on the ground and working upside down. It isn't perfect, but
it is strong and air tight again. |
|
 |
 |
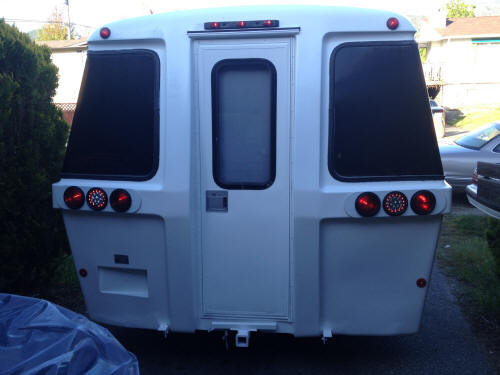
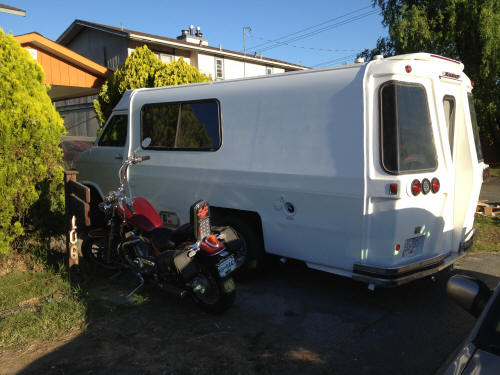
| Once I had repaired all the fiberglass on
the back cap, I replaced all the original lighting with new ones. The
lights across the top of the cap, I salvaged from a camper a friend of
mine was wrecking. They were in pretty good shape, and free parts are free
parts. |
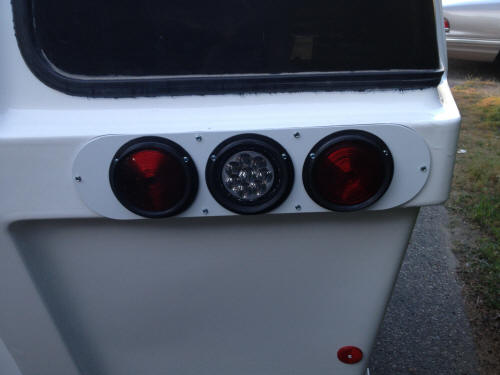
The tail light assembly was my own design. I was
walking through Princess Auto one day and they had these red rubber
mounted truck/trailer lights on sale, and the price was too good to pass
up, so I bought 6 of them. 3 for each side. Then I cut a clear lens for
the center backup lights on both sides, and used the guts out of an LED
flashlight for each of the backup light assemblies. The only problem was
the flashlights were both 6 volt. not 12. So I picked up a couple of 12
volt to 6 volt regulators from Ebay for a couple bucks each, and wired
them in so that I would not burn out the LEDs. Then I cut a piece
of aluminum plate to mount the lights in, and cover up the hole where
the original rectangular lights were mounted. Oh... and I added a ring
of red LEDs around the backup lights so that part of the light would be
lit when the back up lights were not on. |
|
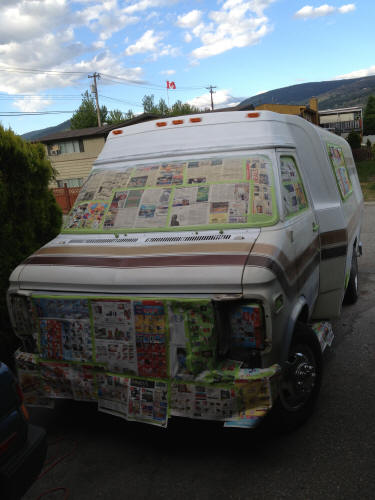
Next the rest of the van needed painting and bodywork |
|
 |
 |
I masked everything off, removed all the old rubber trim,
body filled any of the major dings and scratches. Removed and repaired
the fiberglass fender flairs (which I repainted separately, and then put
them back on the van after the final paint job was complete). Also once
I had the fender flairs removed, I noticed that some of the wood around
the rear fenders (sandwiched between the aluminum inner and outer walls)
needed to be replaced. So I did that at this time as well. |
|
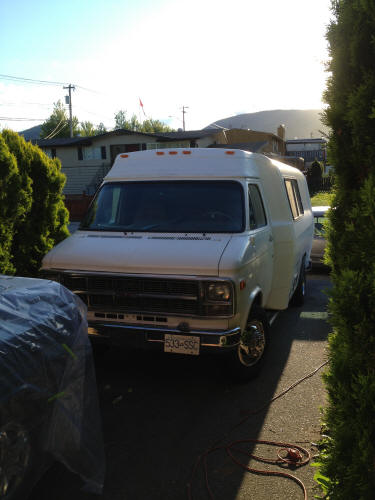 |
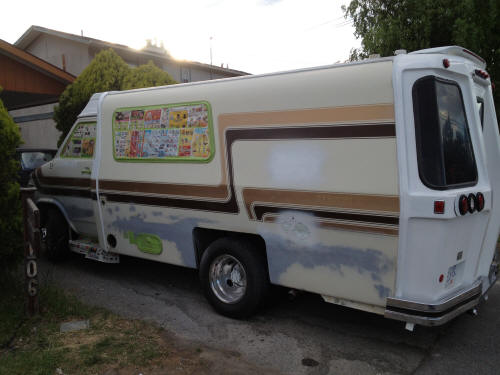
So now it is all one color, and waiting for the stripes to be applied. |
| |
 |
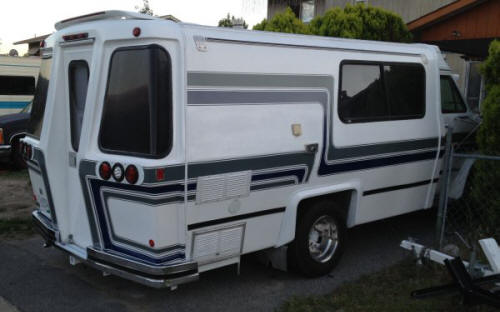 |
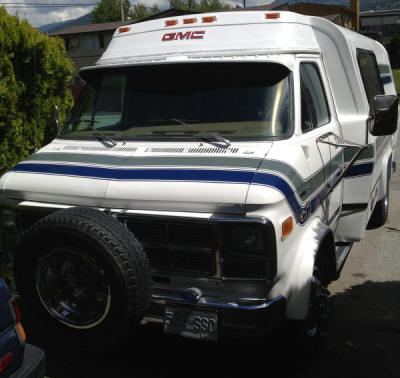
I liked the format of the stripes that were
previously on the van, but the gold and brown had to go. I decided to go
with a more modern color scheme. So I masked out
the stripes exactly the way they were on the van, and decided to
paint it dark blue and grey.
After painting the entire van, I replaced all the rubber moulding down
the sides and on the rear bumper. I added chrome covers for the dually
rims, spare tire rack on the front, fog lights to the existing holes in
the bumper, and a custom tail-fin with an LED strip built into it on the rear
roof. I saw the tail-fin on a car at the auto wrecker, and thought... hmmmm,
might look cool. And it actually looks better than I thought it would.
The LED strip inside the fin is wired up as an additional clearance /
marker light. |